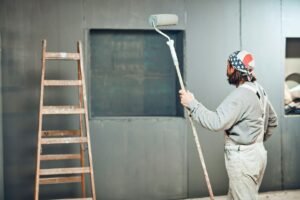
Removing cabinet doors might seem like a small task, but the way we do it can make a big difference when preparing for professional cabinet painting. It’s easy to rush into it, but hurrying through can lead to cracked frames or stripped screws that just create more work down the line. When the goal is a smooth and lasting finish, small damages can throw off the whole project.
By taking a few simple steps and moving carefully, we can take the doors off the right way without harming the frames. It keeps everything moving forward and can help make the painting process faster, cleaner, and more reliable from the start.
Prep Your Kitchen First
Before we touch a single screw, a little prep makes everything easier. Cabinets are often filled with things we use every day, so getting those out of the way is the first step. Clearing nearby counters helps protect dishes, small appliances, and objects that could get bumped.
We also want to think about where the doors will go once they come off. A soft landing spot is key. Laying out old towels or folded blankets on the floor or counter can help prevent chips or scuffs when setting down tools or doors.
To stay organized and avoid guessing later, we always recommend labeling every door and matching hinge. Here’s how this prep step might look:
- Empty cabinets and move nearby items out of the work zone
- Lay down towels or soft cloths to protect surfaces and catch anything that falls
- Place painter’s tape on each door and hinge, writing matching numbers or notes with a marker
This small effort makes it much easier when it’s time to put everything back on correctly.
Use the Right Tools for the Job
Using the right tools helps prevent slips or scratches that can damage the wood. It doesn’t take much, just a few basic hand tools and a little patience.
Here’s what works best:
- A handheld screwdriver (Phillips head, usually)
- A small drill, if needed, though it should be used on a low setting
- A shallow dish or cup to collect screws and hinges
Sometimes a power drill can be tempting. On older cabinets especially, power tools can spin too fast or strip the screws. That’s why we usually stick with manual screwdrivers for this part. They let us keep firmer control and reduce the risk of accidents.
Holding the tool with a soft grip, rather than pressing too hard, helps protect the cabinet’s surface from getting dented or scratched. The goal is to let the tool do the work without needing extra pressure.
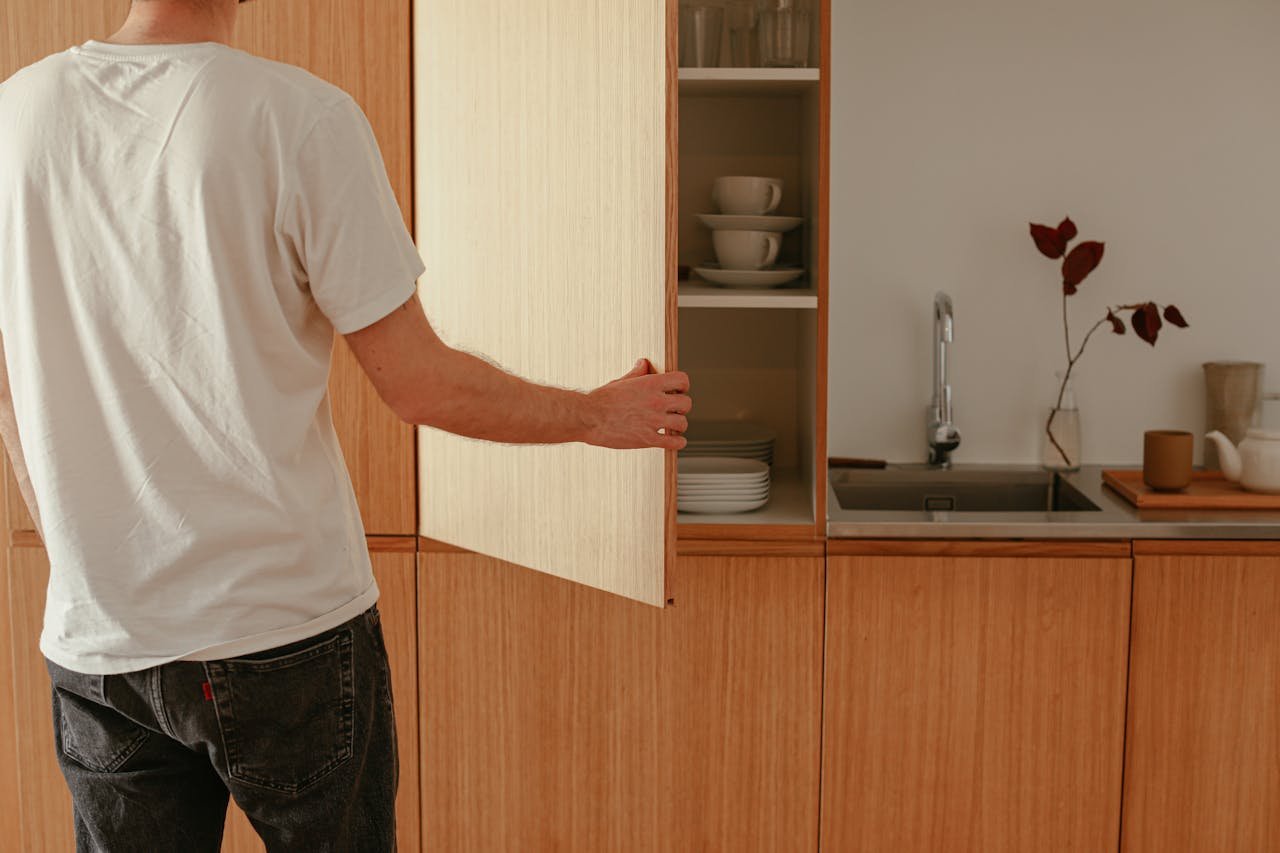
Loosen Doors One Hinge at a Time
When it’s time to remove the doors, we’ve found that working slowly, one hinge at a time, is the best way to stay in control, especially as the weight of the door shifts.
We always start with the bottom hinge first. That way, the top hinge still holds some of the weight until we’re ready, which keeps the door from swinging or pulling too hard on the top hardware.
For a smoother experience:
- Start with the bottom hinge, then move to the upper one
- Keep a hand under the door or have someone help hold it steady
- Place each door on a towel-covered surface once removed
Setting doors flat on a soft surface helps avoid chips along the edge or scratches that could show under the paint later. It seems like a simple step, but it really makes a difference.
Watch Out for Frame Damage While Working
Cabinet frames aren’t made to be forced or yanked. If we hit a screw that won’t budge or a hinge that’s stuck, we never force it. That’s how wood can crack or dent. Instead, we take our time and gently try a few different angles or tools.
Often, old screws might just need a tighter-fitting bit or a little pressure from behind to get moving. Patience always pays off here.
The same goes for putting the doors back on later. If screws are overtightened, they can leave little divots in the wood or even split thinner parts of trim. This kind of damage doesn’t just look bad, it can cause problems during professional cabinet painting. Uneven surfaces and minor cracks can ruin a clean finish or make the paint settle unevenly.
Here are a few reminders we always follow:
- Never force a stuck screw or hinge. Test different screwdriver sizes first
- Use light pressure to avoid stripping or digging into the wood
- When reinstalling, stop tightening when the hinge feels firm and lined up
Every bit of care here protects the larger frame, which helps everything look cleaner and more polished later on.
Peace of Mind from a Smooth Start
The prep work always pays off. When we take time to protect cabinet frames and stay organized while removing doors, everything else goes more smoothly. Paint sticks better, finishes look cleaner, and we don’t waste time fixing dents that didn’t have to happen.
Professional cabinet painting works best when the starting point is solid. Safe, clean removal is a clear first step in getting the job done right. Whether you’re updating the whole kitchen or just touching up the cabinet faces, this early care helps keep things on track.
Taking a moment to review the work after door removal is key to ensuring lasting results. Pausing to check each cabinet frame allows for the early detection of any small imperfections that might affect the final appearance. This extra step helps maintain a steady workflow and guarantees that every detail receives the attention it deserves before moving forward with painting.
Planning your cabinet painting project begins with the right prep, which makes all the difference. Clean removal keeps surfaces intact so the finish goes on smoothly and lasts longer, while careful early steps help avoid delays or damage that could derail your project. Homeowners in Tacoma thinking about professional cabinet painting will appreciate our commitment to quality at every stage. Contact Grit City Painters today to schedule your project.